Defensive Evasion with ProxyChains
In today’s digital world, most adversaries are lurking in the background and try to keep attacks hidden for as long as possible. There are many techniques to do this and one of the common methods to prevent getting caught is known as defense evasion. By definition ‘Defense Evasion’ means, “The adversary is trying to avoid being detected.”
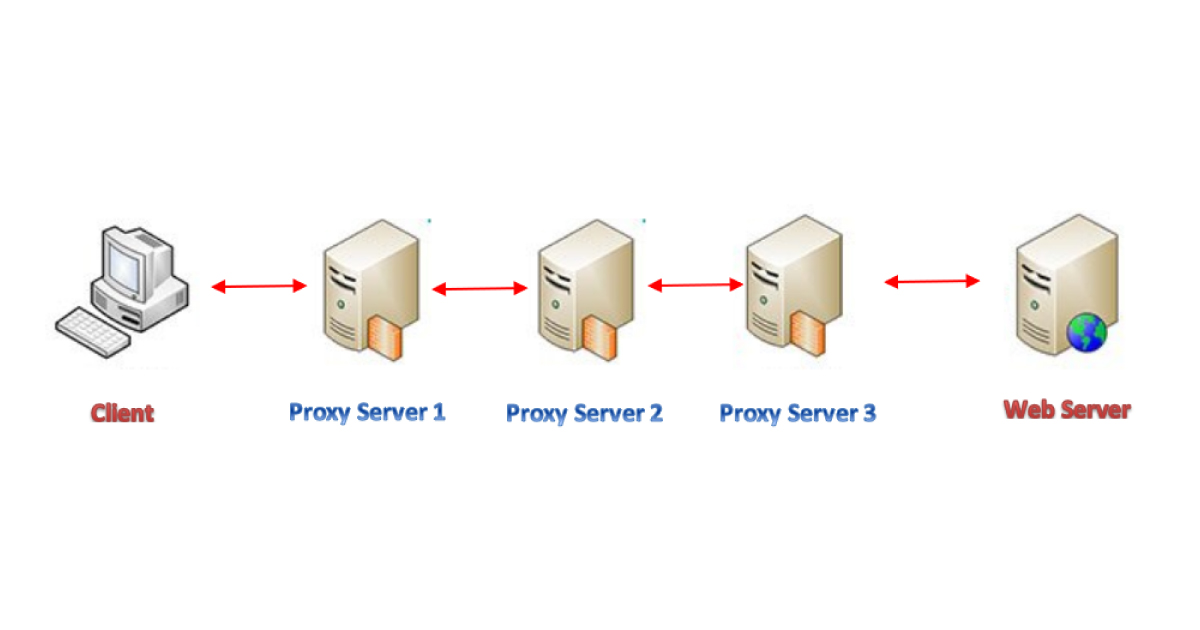
In this article we will discuss how to achieve Defense Evasion with the help of proxy chains, one of most famous red team tools, which allows us to reroute traffic through proxies so then it can bypass firewalls and other network security tools.
Bypassing Network Perimeter Defense
Traditionally, we could start attacking the target system using tools like running port scans. Through ProxyChains we can tunnel our traffic through the compromised server without being caught and reach other servers in the internal network. With that, we can then compromise other servers and use ProxyChains again to go even further into the network. It allows us to bypass firewalls and other network perimeter defense tools.
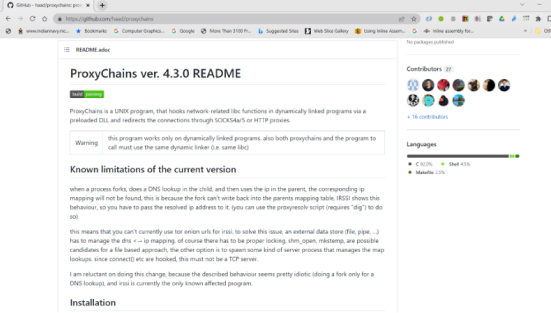
This tool was originally created by N3E7CR34TUR3. It has several major contributors, and we can get the source code from GitHub. https://github.com/haad/proxychains
For demo purpose we are going to use a Kali Linux as the attacker machine, as ProxyChains are already pre-installed and a victim machine. For obfuscating incoming traffic instead of directly pinging the system we can use a proxy on the internet to tunnel the traffic through the proxy. The victim system will only see the proxy IP as the source IP and the victim system will not see the real IP address of the attacker system.
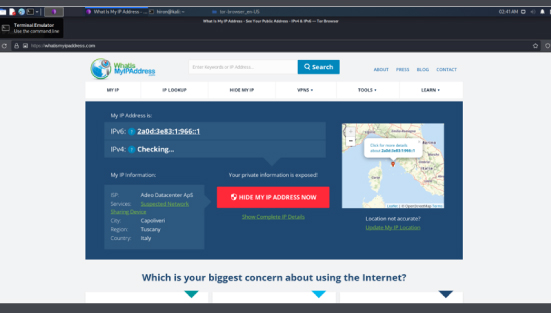
If we use a system without any proxies we get our real IP address. In the figure below we get the actual IP address by accessing the website https://whatismyipaddress.com.
If we forward the traffic through an external proxy, then the victim will see the proxy IP instead of the real IP. TOR network is one of the most famous web proxies. For this we need to install the TOR proxy client. The command used to install TOR is sudo apt-get install tor. Once successfully installed the TOR client will create a tunnel between the system and the TOR network. We need to tell ProxyChains which proxy needs to be used. We need to configure /etc/proxychains4.conf. There are lot of interesting features like, using multiple proxies at the same time etc, but in this article we need to tunnel the traffic through the TOR network. ProxyChains already have a pre-configuration for the TOR network as given below
socks4 127.0.0.1:9050
socks4 define the type of proxy, the TOR client creates a socks4 type of proxy followed by the IP address and port used for the SOCKS proxy, the TOR client uses the port 9050. We can start the TOR by typing the command tor in the terminal.
Once the tor connection is successfully established, we get the output as shown in the figure above. Open another terminal and start the Firefox using ProxyChains.
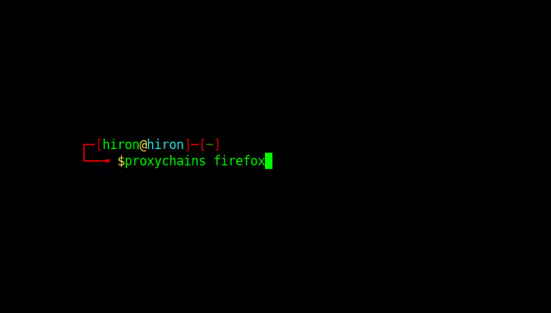
This opens the Firefox browser connected to the ProxyChains. Check the IP address again.
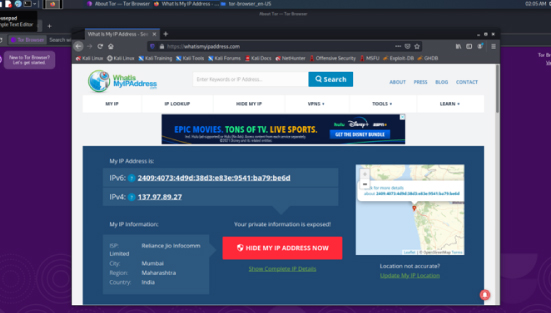
The original IP address is being hidden as all the traffic from the Firefox is going through TOR proxy. We can also use ProxyChains for ssh, Nmap etc.
Click here to know more:
Register on FutureSkills Prime, the technology skilling hub of India and access cybersecurity courses aligned to industry standards and validated by the Government of India.
Submitted by C-DAC Thiruvananthapuram
